Tag Archives: design

Oogoo Part 1 – Basic modelling and casting tests

I have been experimenting with oogoo a bit now and again over the past year or so and I thought I would report my experiences with it.

Oogoo is silicone caulk mixed with corn flour. Silicone caulk is activated by the moisture in the air which means it has a very long cure time unless it is used very thinly. Adding cornflour allows the moisture in the air to quickly penetrate the caulk even when it is inches thick resulting in a cure time of between 15 minutes to 2 hours depending on the ratios you use. More corn flour means a faster cure.

There are a lot of benefits to using oogoo instead of mould making silicone.

  • Silicone caulk is very cheap. You can find tubes of it in budget shops for £1 to £2 for 300ml. Corn flour is even less expensive and increases the total volume of your material. Casting silicone can be about £10 for 300ml.
  • Oogoo mixes to create a putty which makes the whole process very easy. You can press the oogoo around your model with your hands and it is pretty safe. Silicone caulk gives off acetic acid as it cures which is relatively harmless.
  • The fact that it is a putty means there is no risk of bubbles.
  • It is possible to hand model oogoo like Plasticine although the fast curing time does make things difficult. I have some examples below.

There are instances where a pourable liquid silicone would be more ideal for mould making. I have experimented with mixing white spirit with the oogoo to make it a liquid to some mixed results, but even when you get it right the resulting mould is probably always going to be too soft to use. I would definitely recommend buying proper mould making silicone if you need to pour it.


My first oogoo test was just a hand modelled doodle, and my default shape is generally something with 5 way symmetry. I tried mixing in pigment, and I believe in this case I used a small amount of Indian ink. It set very quickly using a roughly 1:1 ratio of caulk to flour. The centre the pointy bits around the edges and the ring in the centre were added from a second batch, and the ring in the middle was just a sausage bent around into a loop. It set much too quickly so there is a very visible join. I used caulk with no flour as a glue to bind the second batch to the first. The third batch I mixed in some purple acrylic ink to add some simple decoration. It’s not the prettiest thing in the world, but it was mostly about testing the materials.

The result is completely opaque because Indian ink and Acrylic ink are very opaque mediums.

The second thing I tried was some basic casting. I pushed oogoo into some empty Rennies packets to try and get some nice smooth rounded square shapes. I wouldn’t recommend that if you want perfect rounded squares because it was impossible to get out the little dents in the packet no matter how hard you pushed the oogoo in. I experimented with different pigments here again. Yellow food colouring, blue acrylic ink and I think some kind of food colouring that didn’t have very strong pigment on the grey ones.

I arranged them on a sheet of plain oogoo. The result is very floppy. I could see potential here for designs for cosplay outfits, but it would be better to cast the whole thing as one sheet, and to make a really nice hand carved plaster mould rather than empty Rennie packets.

You can see the translucency of the oogoo when I hold it up to the window, and the difference between the opaque purple pigment and the transparent yellow pigment. I think there is potential for creating pieces to be stretched over light boxes.

These weren’t designed to be pretty. It was more just a test of what can be done with oogoo.

I will talk about some more advanced experiments with oogoo that I tried later in my next post.


Tagged , , , , , , , , , , , , , , , ,

Blue Stuff

Apologies for being terrible at keeping up with posts. I promise to be much more active from now on.

I’m going to use this space to record some of my thoughts and ideas, as well as link to videos and articles that inspire me rather than just sticking to sharing things that I have made and done. I realised the other day that there are a lot of youtube videos of things that I want to try that I’ve completely forgotten about so it will be useful to keep them here.

I’ve discovered this amazing mouldmaking material called blue stuff, which I can’t wait to try in the future. It’s a very easy to use putty that can be melted again reused over and over again, which is beneficial for so many reasons. Another good thing is that it doesn’t generally stick to the object that you’re taking a mould from, and in it’s soft form it won’t stick to a hardened piece allowing multi part moulds to be created pretty easily.

Here is it in action.

I’m really excited about buying some and trying it with some Milliput Superfine White, which is normally about £4.50 a box but I managed to find some here for around £26 for 10 packets. Milliput Superfine White will apparently mix well with pigments designed for resin and also even works with a small amount of oil paint although there are no videos on Youtube of anybody trying this. I’m considering recording some videos of my own material experiments to put on Youtube because there are quite a lot of things I’ve looked up that don’t exist on there yet.

I will report back when I have tried this stuff out.

Edited to add a link to where you can buy blue stuff. Which is here.

Tagged , , , , , , , , , ,

Paper Lamps

I started working on this mainly because I needed decor for my room, but it could easily feed into my main work. I first wanted to replace the ugly glass ceiling light shade that makes a horrible vibrating noise every time my housemate upstairs moves around, but that ended up being a bit of a disaster. It wasn’t till I started doodling that I came up with some potential workable designs.

01 lamp ideas 1

Led on to me making this

DSCN5047

DSCN5047 DSCN5054

I still need to finish the watercolour work on the white tissue surface.

Since then I’ve been trying to figure out what to do next. I had a go at drawing it out in painter and seeing how other colours might look.

05 triangle light

and then [played around with more designs ideas.

03 lamp ideas 2

I also wanted to try and make a bunch of samples using tissue I put through my home printer by taping it to a regular sheet of paper. When you add the pva water mix to it the image runs but if you are extremely careful you can keep it mostly preserved

.success tissue print

And here is the little model I tried it out on. each surface had an increasingly clearer image as I got used to preventing the wet ink from running.

printed tissue tetra

I knew I was going to try a few more of these in the future so I played around with designs which might incorporate a number of these tetrahedrons into another lamp.

04 lamp ideas 3

The last design reminded me a bit of an xbox controller and made me think of potentially making an abstract wall piece based on video game controllers. A kind of impractical monstrosity that might work as a piece of art in a gallery space.

Tagged , , , , , , , , , , , , , , , , , , , , , ,

Ideas so far

Idea development has moved on a fair bit in my head but I haven’t really recorded any of it and I thought I’d best get some of it down in case I forget it.

One idea is to build something out of voxels and then get it printed in 3d and then make a mould from the 3d print which can then be used to cast the form in other more workable materials such as glass, porcelain, bronze or paper. Within that there are more options. Initially I was considering the play off between organic and computer generated or digital image inspired forms. Maybe a series of sculptures starting with a very organic looking form and gradually being broken down to just a cube at the other end. I guess the equivalent of taking a photo and then lowering the resolution in paint, but in a 3d form. Then there’s vertices or polygon based breaking down of objects. In video games generally the same object is created more than once in varying degrees of complexity, so things in the distance are much simpler versions of when you see them up close with much blurrier textures. A mountain, for example, may be just a few polygons from far away but when you are walking on it it’s a much more detailed version. This is primarily so people’s computers don’t combust and so that you can play games at more than 1FPH (1 frame per hour).

To an extent it’s an idea inspired by the development of Piet Mondrian’s work as much as video games techniques. I really love the progression of his work from the early 1900s to the de stijl style he’s most famous for in the 1920s and onwards, which I have displayed at the bottom of this post.

So the breaking down would either be a recreation of the object built from increasingly larger and fewer cubes, or it would be a recreation of an object multiple times using increasingly larger and fewer polygons.

Other than that I thought maybe the contrast between natural and CG could be contained within the same object. So, for example, a tree that’s part hand built and then part lo fi (polygons or voxels)… Or maybe a sculpture that is lo fi but has soft organic surface textures or is being overgrown by something, or has been ruptured by nature. I found this work by Elisa Confortini very inspiring but also quite creepy:

Work by Elisa Confortini

Work by Elisa Confortini


As well as the lo fi sculptures I also considered going down a slightly more literal idea. Obviously video games have always been a big part of my life. As I’ve mentioned before I think it’s the most interesting area of the arts with the most new and unique ideas coming out of it, despite also being the most sneered at and overlooked area in the arts. It would be impossible to really translate anything other than the sound, narrative or the aesthetic into another media, being that video games strengths come from interacting. You can’t really have a credible opinion of a video game without ever actually having played it because it’s a completely interactive experience.

I am considering making stylized video game inspired sculptures, but ones that try and capture the essence of the atmosphere of particular games or styles of games rather than faithfully recreating scenes or characters. I always avoid being too literal because literal translations of everything are being done all the time, primarily by illustrators and fans of things in general. Someone who really likes Buffy the Vampire Slayer will have made a photorealistic sculpture of Buffy, and built various cars from the show, and made comics of the show. It’s not anything that really has any legs conceptually, or that lends itself to the artist coming through in the work which, for me, is very important.

So yeah. As usual a very rambley post but i thought it was worth getting these thoughts recorded and blogged. Below is the development of Mondrian’s tree paintings.

Expect sketches later today.


Piet Mondrian - Avond (Evening): The Red Tree (1910)

Piet Mondrian – Avond (Evening): The Red Tree (1910)

Piet Mondrian - The Grey Tree (1912)

Piet Mondrian – The Grey Tree (1912)

Piet Mondrian - Trees in Blossom

Piet Mondrian – Trees in Blossom (1912)

Piet Mondrian 'Composition Trees II', 1912

Piet Mondrian ‘Composition Trees II’, 1912

Piet Mondrian - Composition No. 6

Piet Mondrian – Composition No. 6, 1914

Piet Mondrian – Composition with Gray and Light Brown (1918)

Piet Mondrian - Large Red Plane, Yellow, Black, Gray and Blue, 1921

Piet Mondrian – Large Red Plane, Yellow, Black, Gray and Blue, 1921

Tagged , , , , , , , , , , , , , , , , , , ,

First painting ideas

Image

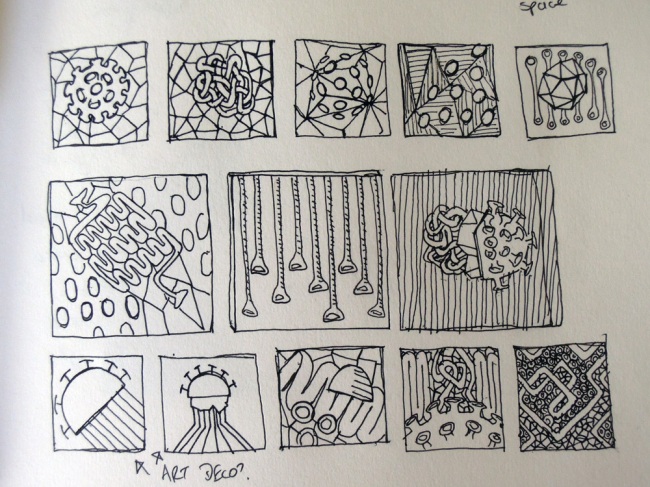
Some painting composition ideas based on elements from the sculpture I am working on

Image

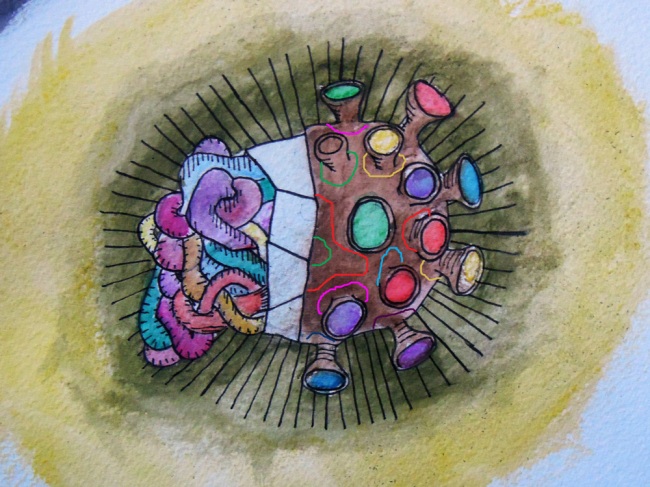
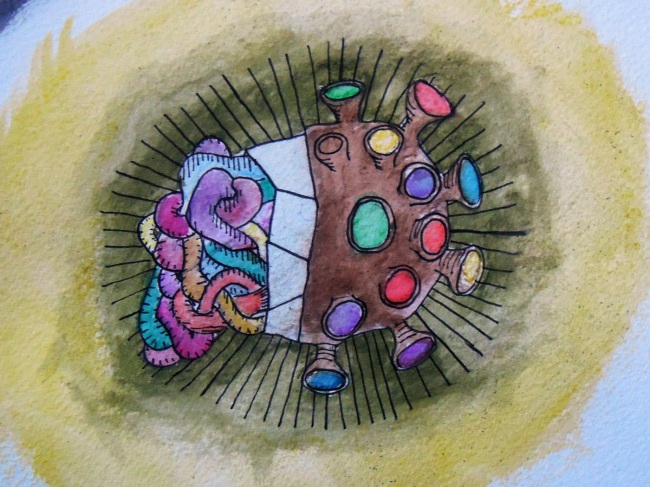
This is the final concept art for my sculpture, with some added lines in photoshop adding a little more detail. Below is it without those lines.

Image

Tagged , , , , , , , , ,